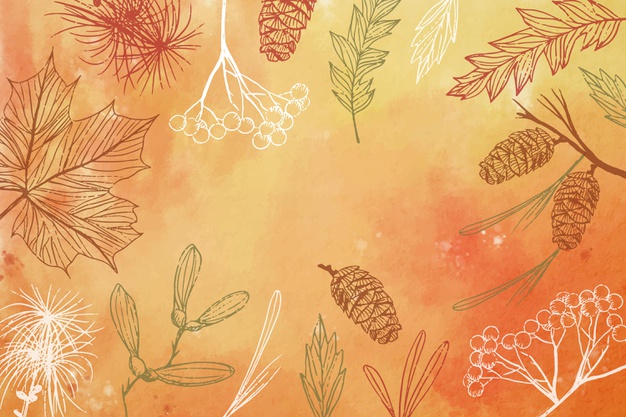
DIY Maple Leaf Jar
Get into the Autumn spirit with this DIY Maple Leaf Jar. It’s very simple to create. Your kids will love it! It’s the perfect Autumn decal for their room.

WHAT YOU’LL NEED
· Mason Jar (Purchase from Sweet Party Supplies)
· Acrylic Paint (Purchase from Sweet Party Supplies)
· Art Brush (Purchase from Sweet Party Supplies)
· Twine and Ribbon (Purchase from Sweet Party Supplies)
· Battery Operated Tea Light candles (Purchase from Confectioners Favourites)
· Adhesive paper
· Maple leaf stencil (any online stencil of a maple leaf can be used)
INSTRUCTIONS
Step 1: Begin by tracing out a maple leaf design onto your adhesive piece of paper. Then cut out around the shape. Apply the adhesive maple leaf design onto your mason jar.
Step 2: Pick the acrylic paint colour the you wish to use.
Tip: If you wish to stick to the Autumn them, the best colours to use are various shades of yellow, orange, red, purple, and brown.
Step 3: Pick the acrylic paint colour the you wish to use. Then begin to paint your mason jar. Two — three coats should do the trick. Make sure you wait for the each layer of paint to dry before painting the next layer.
Tip: If you wish to stick to the Autumn them, the best colours to use are various shades of yellow, orange, red, purple, and brown
Step 4: Once the mason jar is dry, gently peel away the vinyl leaf decal.
Step 5: Add some twine or ribbon at the top of the jar to finish it off. Place your battery operated tea light candle inside the jar.